Do you want to learn how to create a form in several steps with a progression bar in WordPress? We have you!
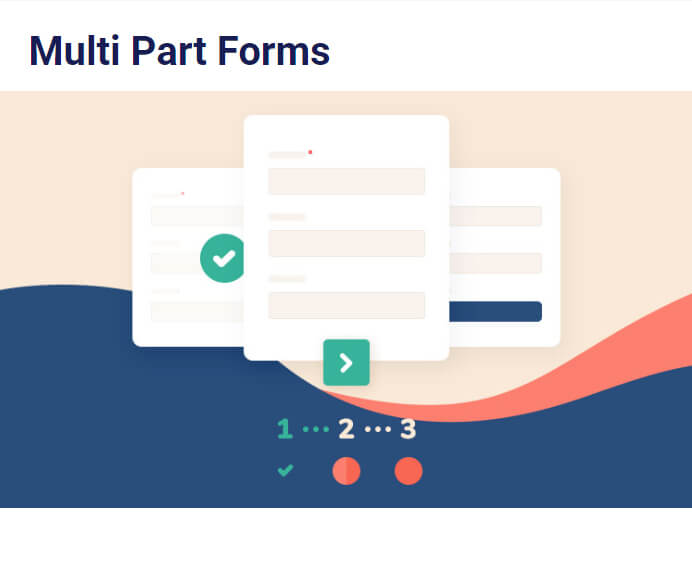
A form into several parts divides long shapes into several stages. Thus, the form fields are more organized and easier to fill out for users.
Likewise, the progress bar shows the quantity of work completed and follows users’ progress while filling out the form.
Thus, this article will give you a detailed guide on how you can create a form in several steps in WordPress with a progression bar.
Let’s start.
Why create a form in several steps in WordPress with a progression bar?
As said previously, a form in several stages is exactly what it sounds, a long shape divided into several parts.
Thus, it improves user experience, increases conversion rates and improves data accuracy.
Below, we have listed more points on the reasons why you should create a form in several steps in WordPress with a progression bar.
- The form charges may examine, go back, modify and modify the information they have provided if necessary.
- Progress Bar improves the conviviality of a form in several stages and facilitates navigation and understanding of users.
- It also provides comments to users on their progress and allows them to adjust their approach.
- It also reduces errors by guaranteeing users all the required steps before submitting the form.
These are just a few advantages of a form in several stages in WordPress with a progress bar. If you dig a little deeper, you can find more.
Creation of a form in several stages with a progress bar in WordPress (tutorial)
After having known all the advantages of the form in several parts with a progression bar, you must immediately integrate it into your shapes.
But the choice of the right tool to go to the process is very important. This is where the best forms generator plugin is formed Everest, intervenes.
You can create various online forms using Everest forms, including job application forms, contact forms, surveys, surveys, etc.
But above all, you can create a shape in several steps in WordPress with a progression bar in a few simple steps.
Now, without further delay, let’s go through a step -by -step process to create a form in several stages in WordPress with a progress bar.
Step 1: Install and activate Everest forms and Everest Pro forms
The very first thing you need to do is install Everest forms And Everest Forms Pro On your WordPress dashboard.
You can indeed create simple shapes with the free version of the plugin.
But to obtain the additional module in several forms in several parts, you will need an upgrade to a premium plane (more or higher).
The process of installing the Everest Forms Pro is quite simple. Just visit the official plugin website, where you will see 4 different plans.
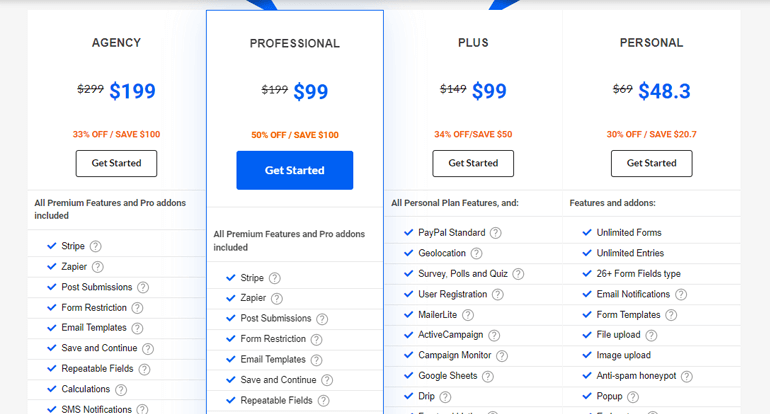
Select the plan according to your budget and your requirement.
After that, you will receive a link to your email. Follow the link and go to the dashboard of your account.
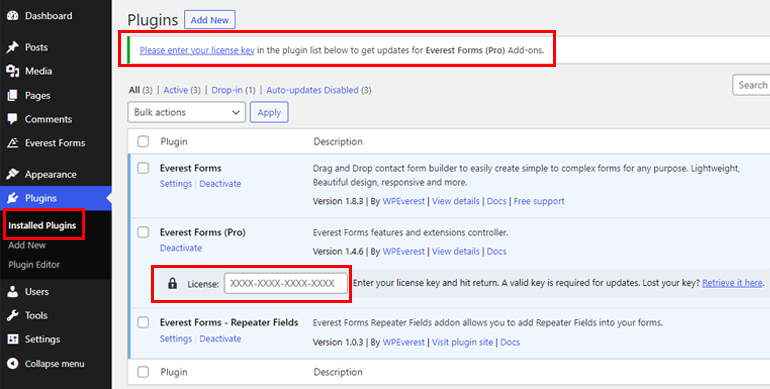
From there, you can download the plugin zip pro and get the license key under the License key tongue.
Then go back to your WordPress dashboard and access Plugins >> Add a new. And just click on the Download plugin button.
Then choose the Everest Forms Pro Zip file that you have downloaded before and press Install.
Now glue the license key in the required area and Enable The plugin of your site.
If you need the entire installation and configuration process in detail, follow this link on how to install Everest Forms Pro.
Once you’ve properly configured the plugin, you can take the next step.
Step 2: Install and activate the additional module of forms in several parts
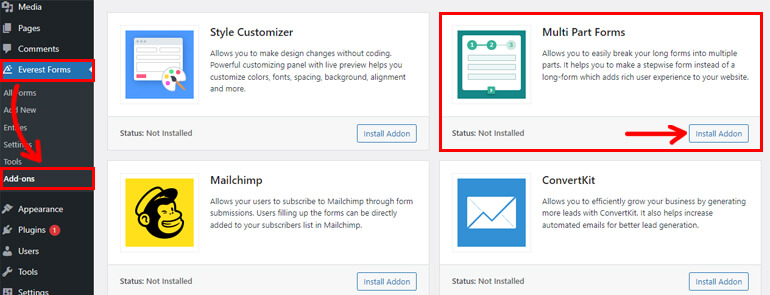
Since you have the pro version, you can now easily install the Multipart-party completeness. First, go to Everest Forms >> Complementary.
After that, search Complement to several parts. Then just click on the Install the addon button and press Enable.
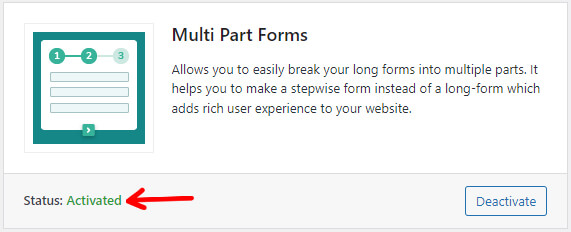
You will know that the additional module is active when the status indicates Activated.
Step 3: Create a new form
Once you have installed and activated the Form supplement in several partsIt’s time to create a new form.
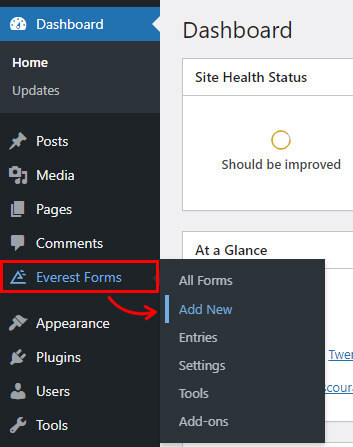
So go to Everest Forms >> Add a new.
You will find a collection of predefined form models on the Add a new Form page. However, you can also start from scratch.
In this tutorial, we will show how to create a form in several steps in WordPress from zero.
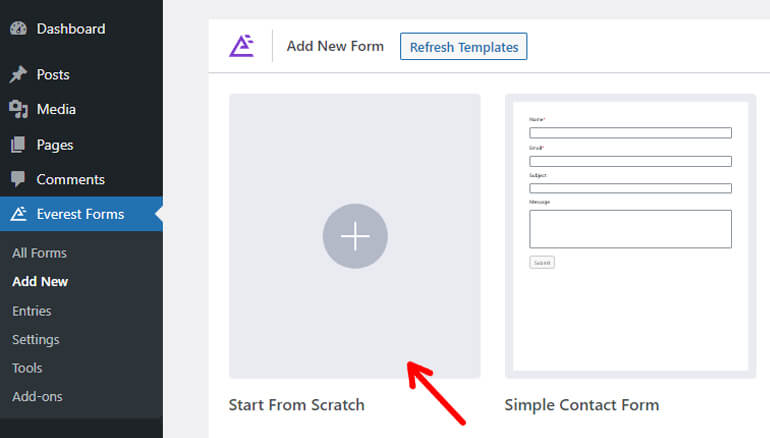
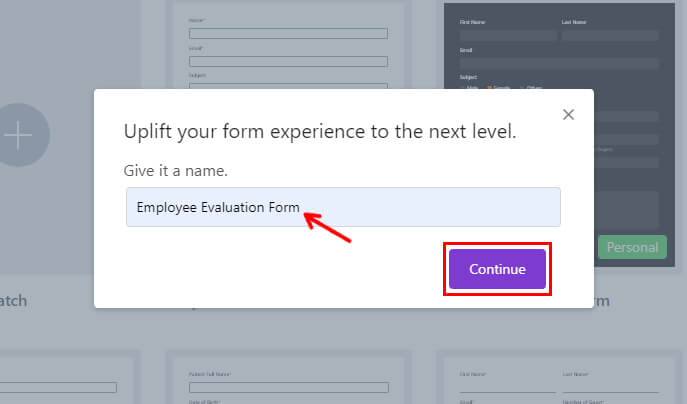
So click on Zero And name your form.
We will call it “Employee assessment formAnd press Continue.
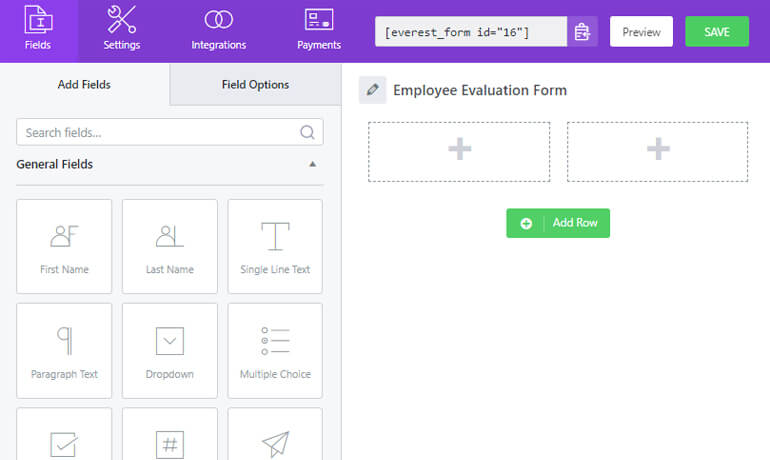
After that, you will see the Everest Forms Editor editor screen, which looks like the one below.
Step 4: Activate form parameters in several parts
It is now time to divide your shape into several parts. To do this, you must activate the In several parts First.
Access the Parameters Tab at the top. And click on the In several parts Settings.
Then you will see the check box to activate the Form in several parts option. Check the box and, like this, your option is activated.
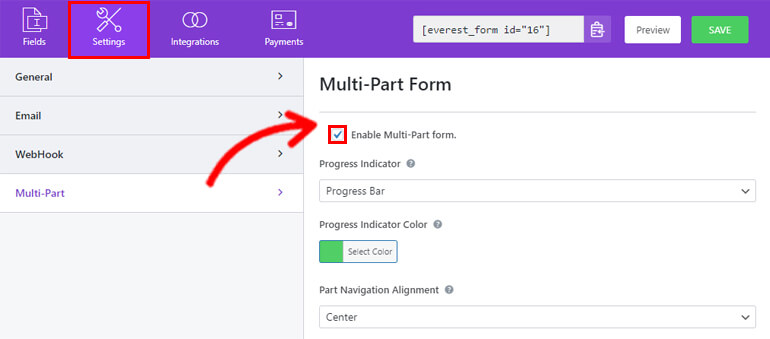
On the same page, you will also see some customization options for the part indicator like:
Progression indicator:
From here, you can select the theme of the part from the drop -down list which will be visible at the top of your form like:
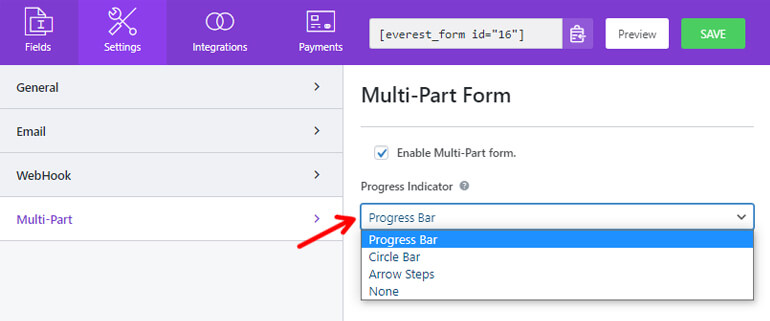
1. Progression bar

2. Circle Bar
3. Arrow steps
Color indicator color:
This option will allow you to choose a color for your room indicator. You can select any color depending on your preference.
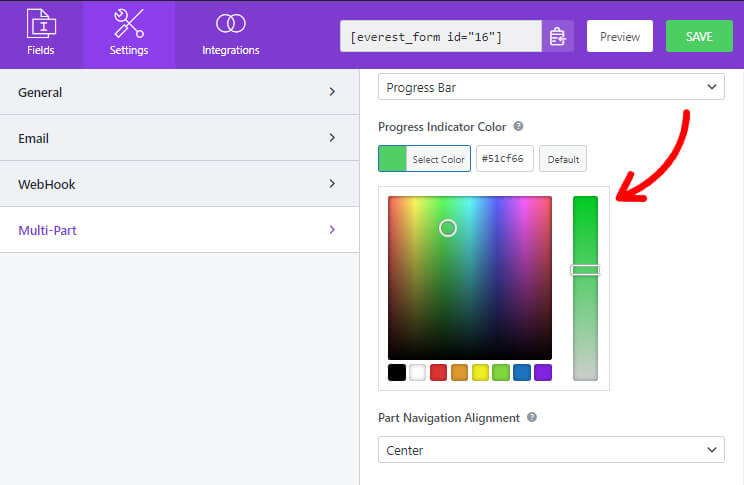
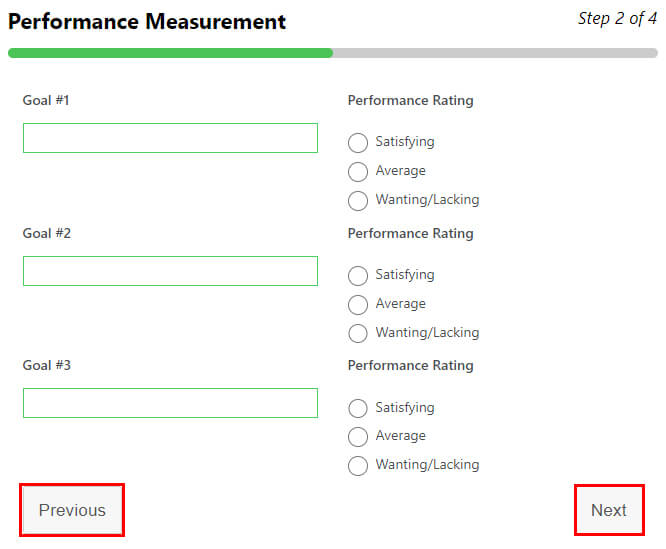
Partial navigation alignment:
You can select the alignment of the part navigation button like:
1. On the left
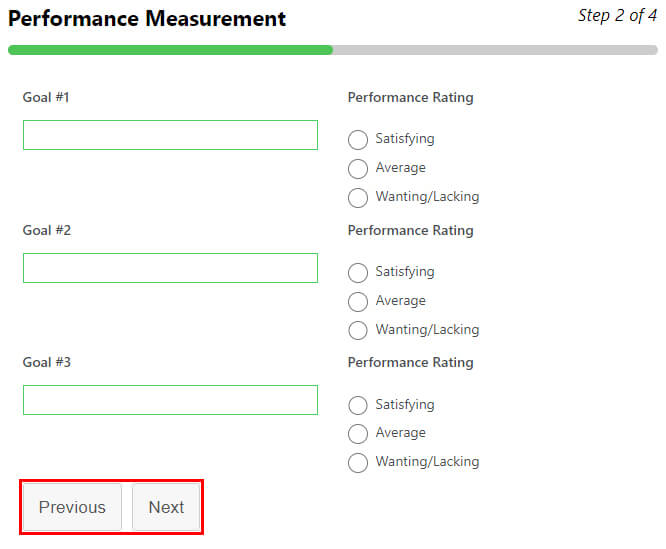
2.
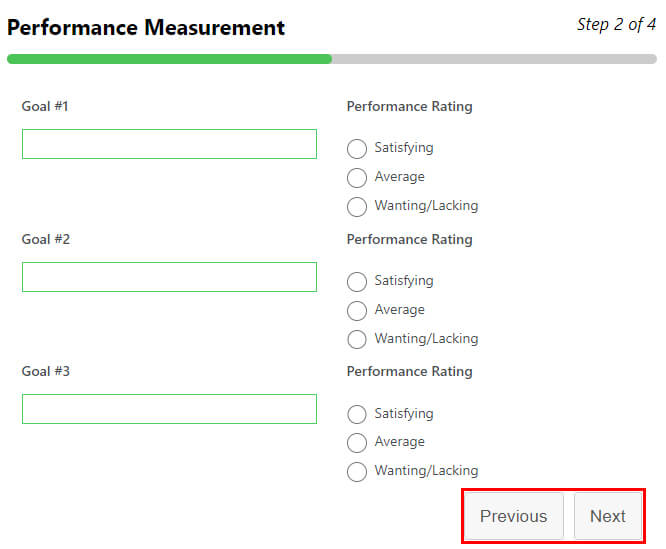
3. Center
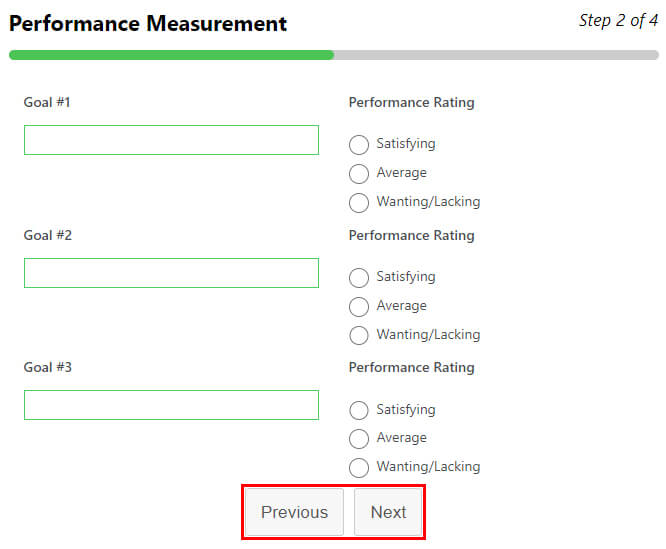
4. Split
After making all the changes, don’t forget to To safeguard he.
Step 5: Add fields and build your form in several steps
Just after activating the form of form in several parts, the first part appears in the form generator.
It is entitled Game titlethat you can later change by Page options.
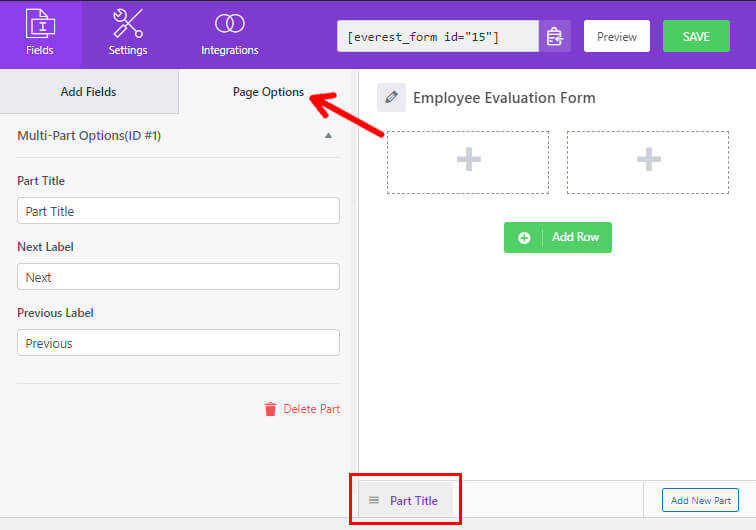
Then drag and place all the required fields in your form.

And to add another part to your form, click on Add a new roomthat you can find at the bottom.
This will open the following blank page where you can add desired fields as before.
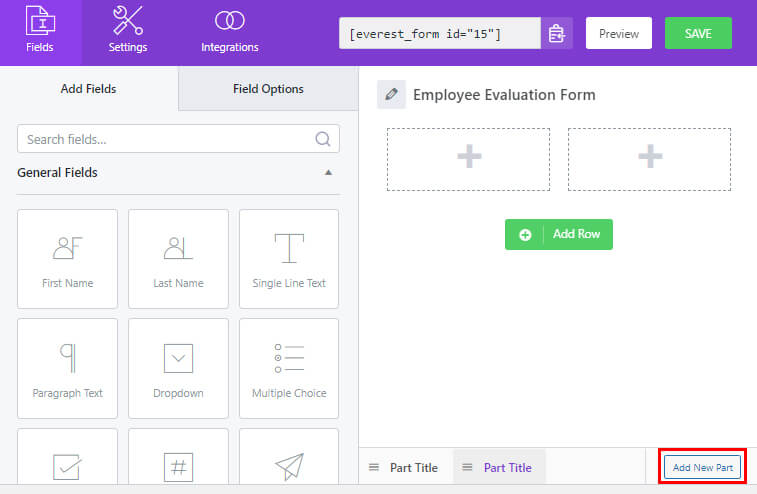
You can also adjust the individual parts or move your position. Just slide the room on the right or left for that.
Likewise, you can change the Game title And Labels below Page options as before.
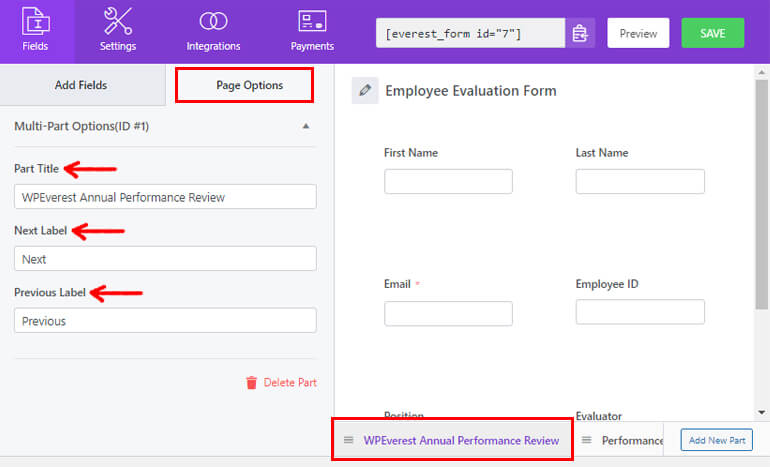
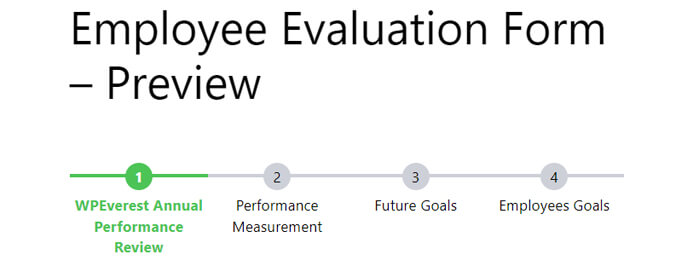
Here, we added four games and named them Wpeverest Annual Performance Review, performance measurement, future objectives and additional information, respectively.
Finally, click on the To safeguard button to save the changes you have made to your form.
Step 6: Configure the form parameters
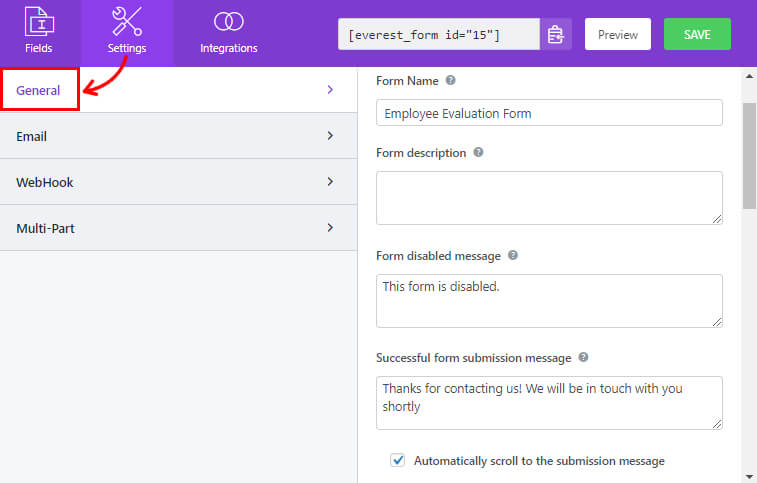
Then you can open the Parameters Form tab to configure the settings of your form.
Here you will find different sections with various personalization options.
1. General
With the general settings, you can modify the description of the form, a message disabled to the form, activate conditional logic, layout conceptions, etc.
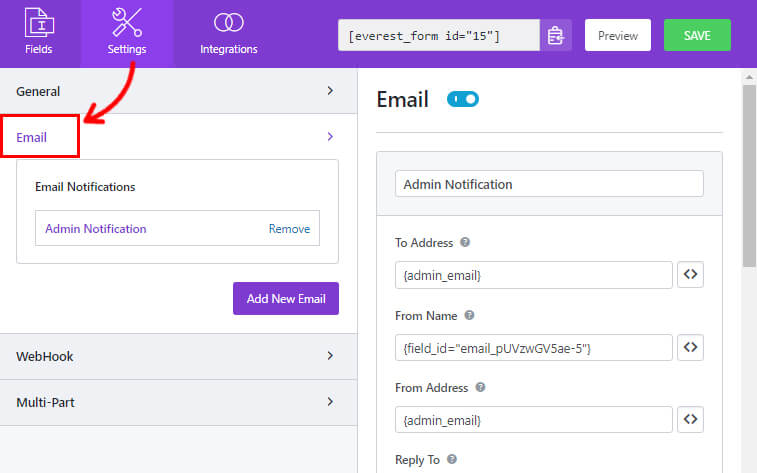
2. Email
E-mail settings allow you to create the administrator and user e-mail notification models.
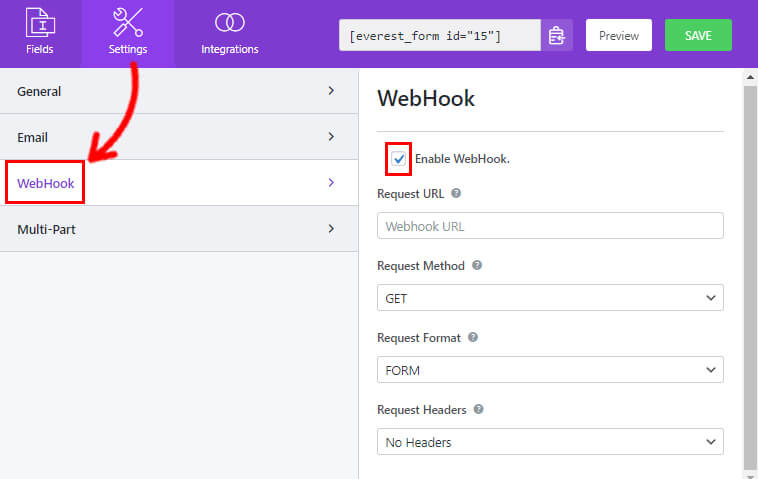
3. Webhook
Using a webhook, you can send the form data to any external URL. You must define the request URL, the request method, the request format and the request header.
You can now click on To safeguard To save the changes you have made to the form.
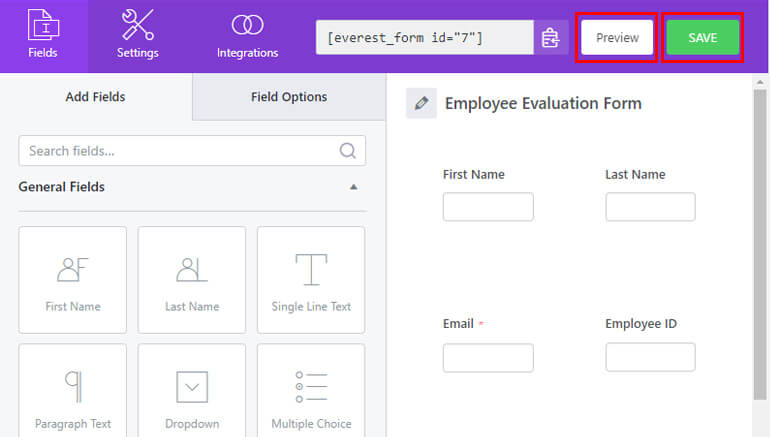
Step 7: Overview and publish your form
You have managed a form in several parts with a field of progress by using Everest forms.
But it will only be visible for your users if you display your form on your WordPress website.
So give your form a final control. You can also have an overview of your form. Just click on the Preview button next to To safeguard button.
Then, to add the form to your site, you can use the Everest forms block to display your form.
Go to Post / page >> Add a new.
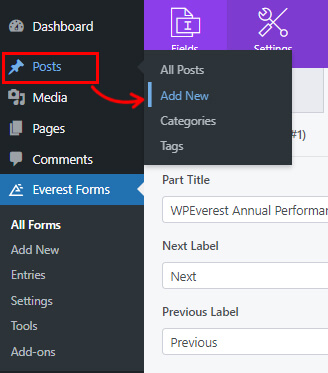
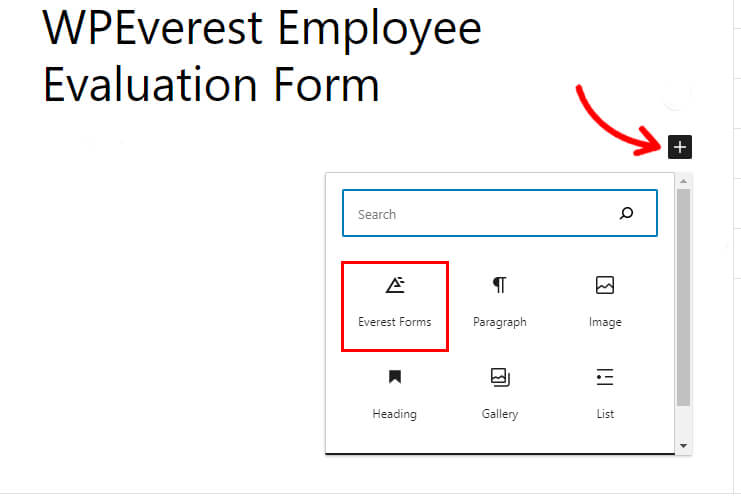
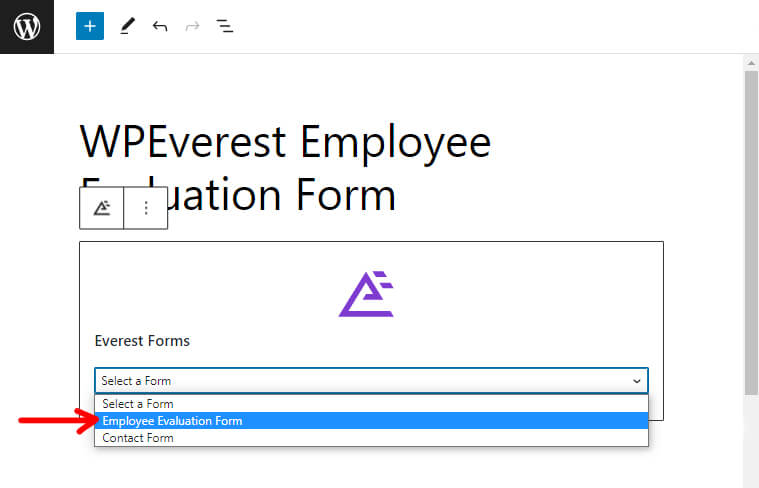
You will land on a block editor. Click on Add a block (+) Button and search for the Everest forms.
Add it to the page and select your WordPress Employee assessment form from the drop -down list.
Finally, you can hit the Publish button at the top.

Wrap!
This is all with our guide on how to create a form in several steps in WordPress with a progression bar. We are almost sure that this tutorial was useful to you.
Now you can easily create a shape in several steps in WordPress with a progress bar using Everest forms without sweating.
Everest Forms is much more than your basic formal form tool. To obtain more criticisms on the plugin, read our article on reviews on Everest forms.
Then you can also read how to change the WordPress theme without losing content.
Finally, if you like our content, follow us on social networks for future updates.
We are available on Facebook and Twitter. And for easy video tutorials, subscribe to our YouTube channel.
News
Berita Olahraga
Lowongan Kerja
Berita Terkini
Berita Terbaru
Berita Teknologi
Seputar Teknologi
Drakor Terbaru
Resep Masakan
Pendidikan
Berita Terbaru
Berita Terbaru
Berita Terbaru